Flash PhotonVision using Qualcomm Launcher
Qualcomm® Launcher is a user-friendly, GUI-based tool designed to simplify the process of downloading and flashing operating systems onto Qualcomm®-based development kits. This section provides step-by-step guidance to flash the Renesas USB firmware and replace the existing OS with a certified Canonical Ubuntu 24.04 server image.
User steps:
1. Install Qualcomm Launcher
a. Visit Qualcomm Software Center web portal: https://softwarecenter.qualcomm.com/catalog/item/Qualcomm_Launcher
b. Select the appropriate OS type and architecture based on your host machine.
c. Choose the latest version and click Download to get Qualcomm Launcher.
Important: On Linux hosts, Qualcomm Launcher v1.2.2 or later is required.
2. Flashing Operations
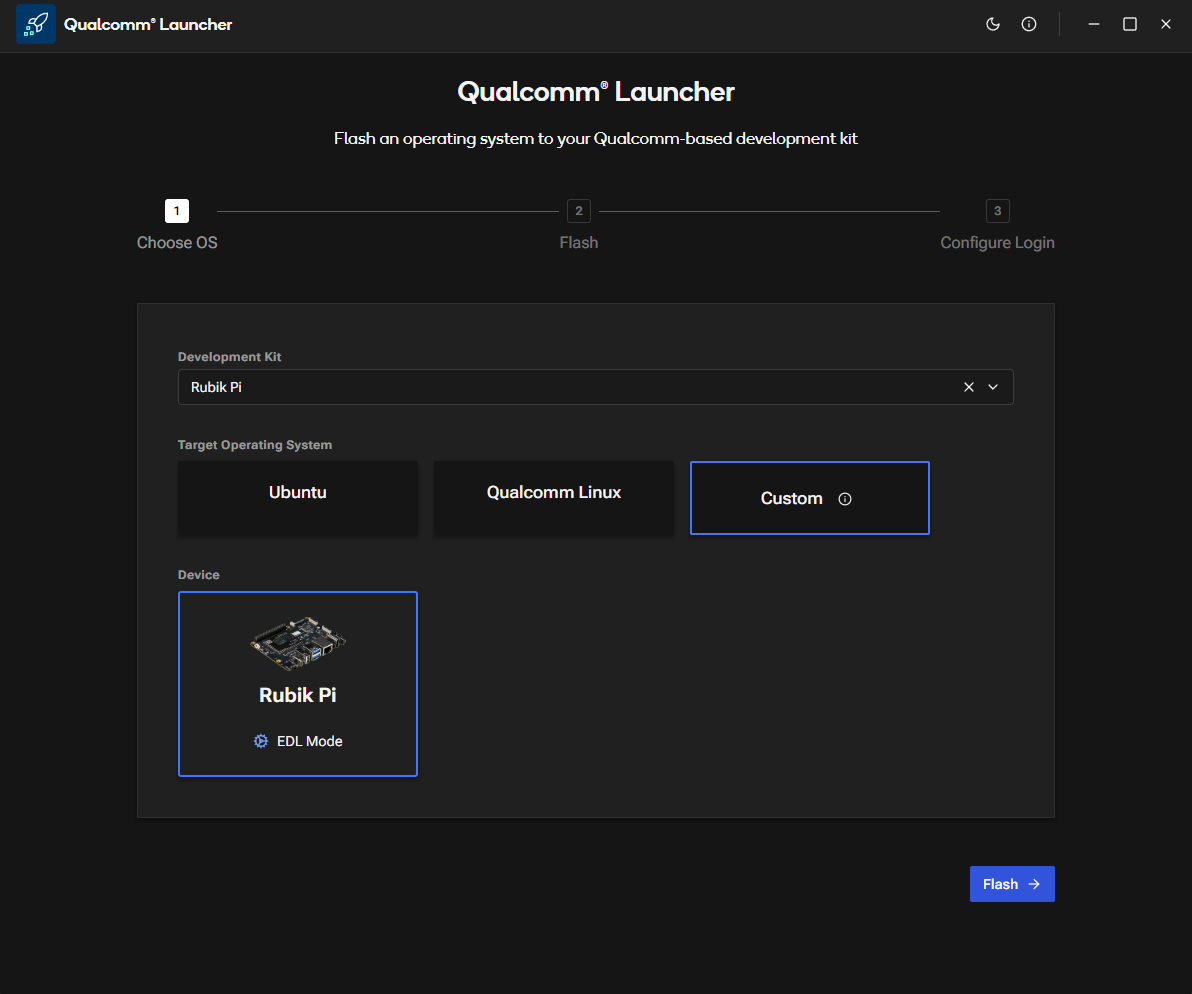
a. In the Launcher, select the Development Kit as RUBIK Pi and check the Additonal Firmware (USB Firmware), the Target Operating System as Custom then point to newest PhotonVision build: https://github.com/PhotonVision/photonvision/releases photonvision-xxxx-linuxarm64_rubikpi3.tar.xz 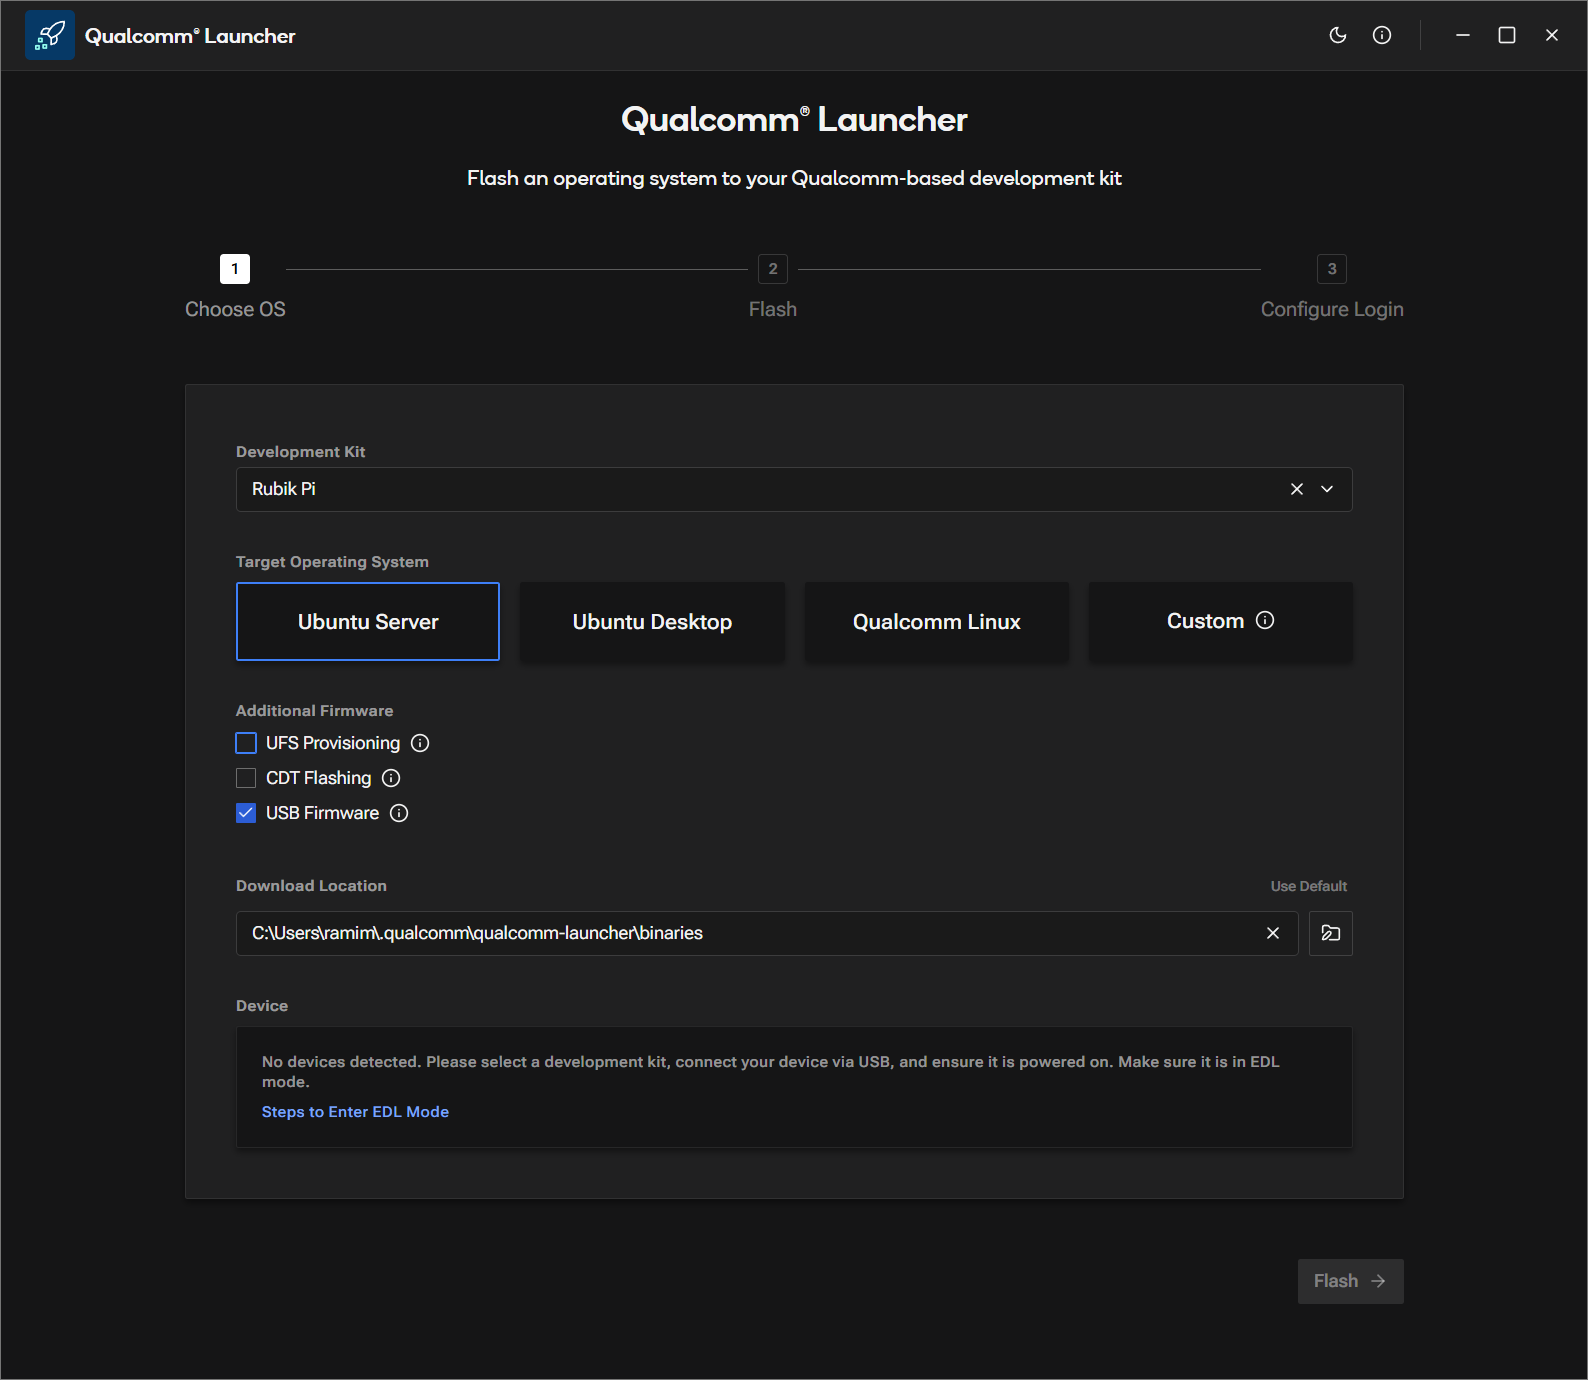 b. Switch the device to EDL mode (you can find instructions within the app). Once in EDL mode, the RUBIK Pi 3 will be automatically detected.
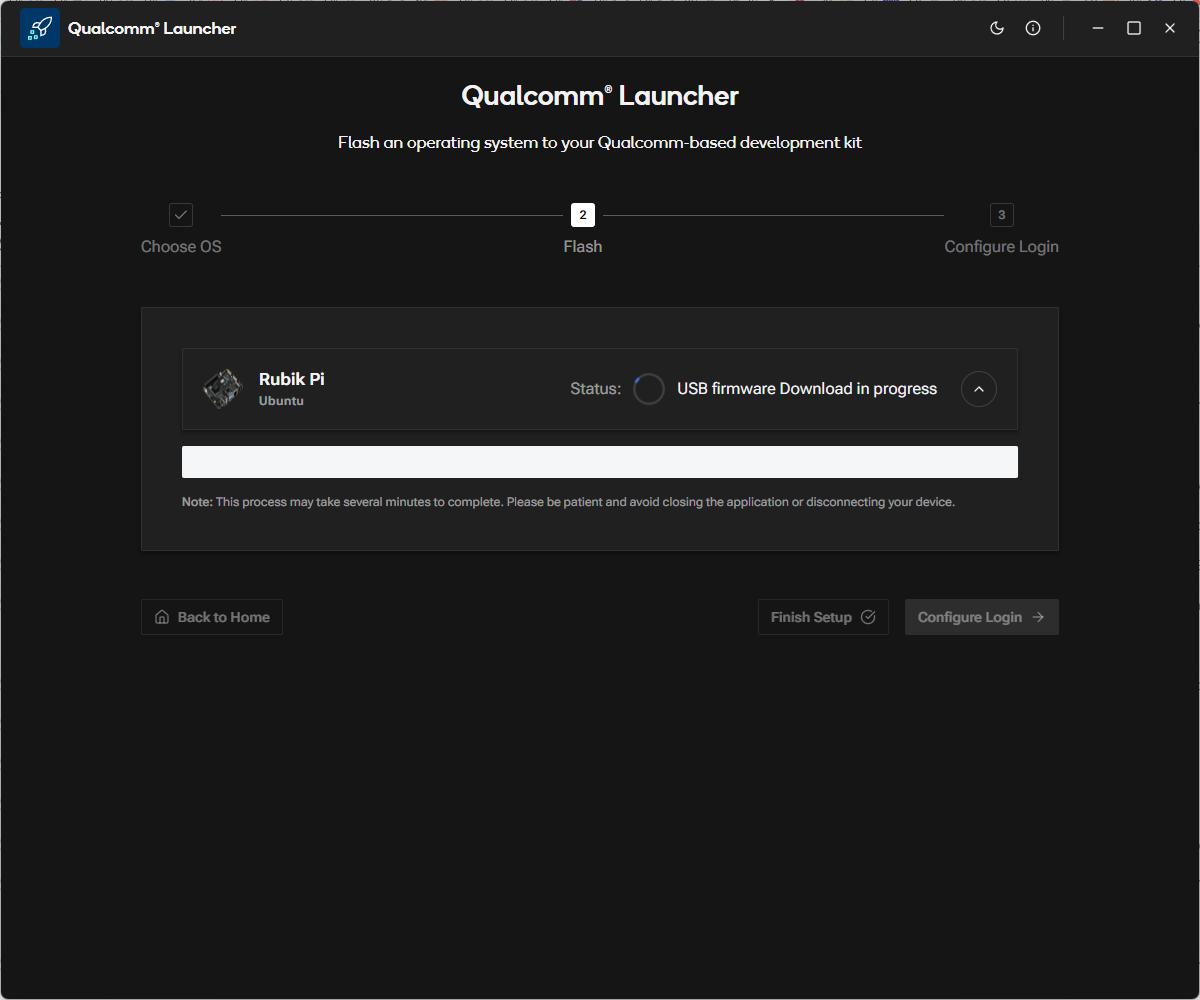
 c. Click Flash button to begin updating the Renesas USB firmware.
d. A progress screen will display the status of the USB firmware flashing process.
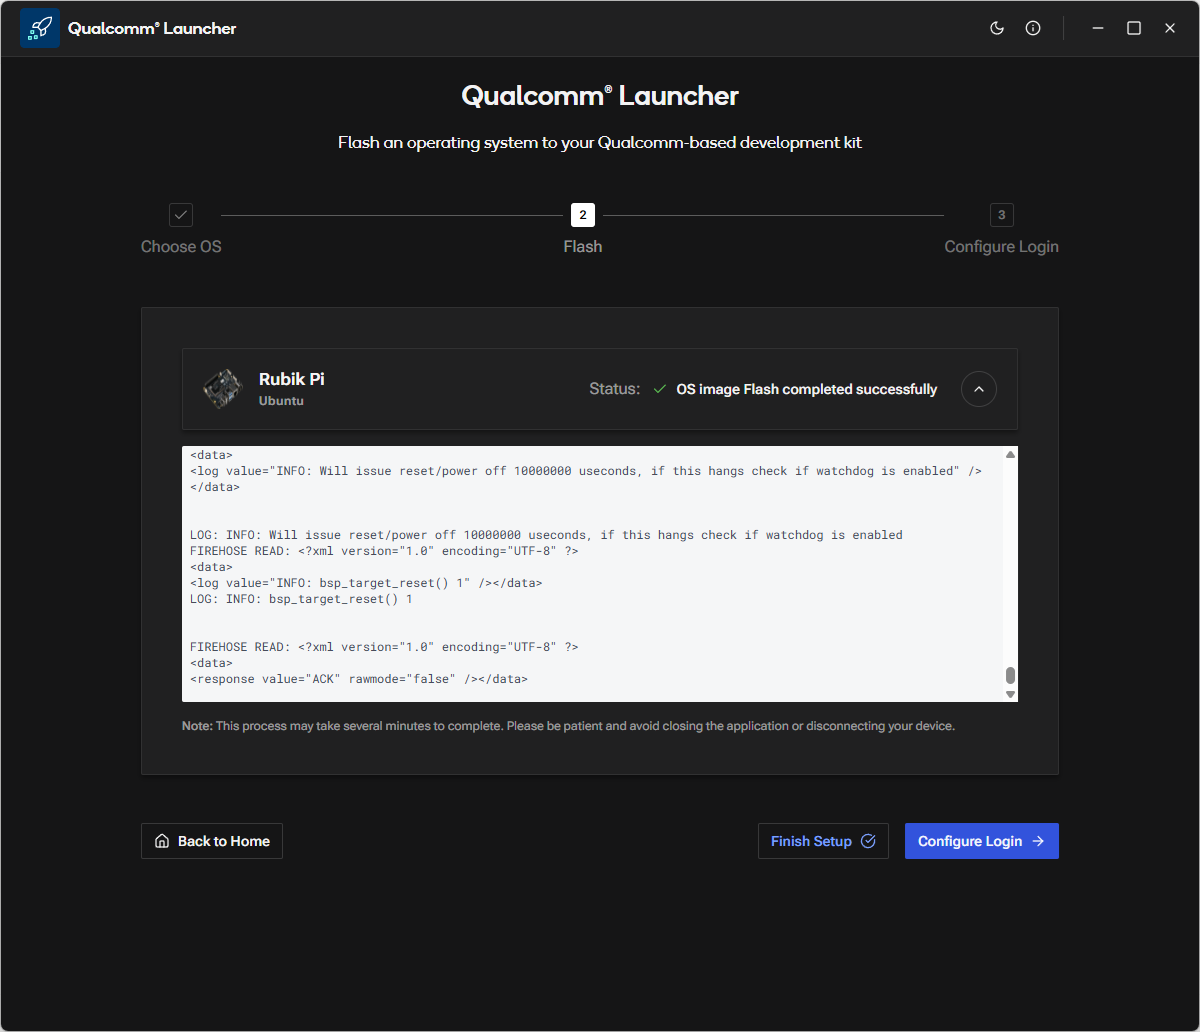
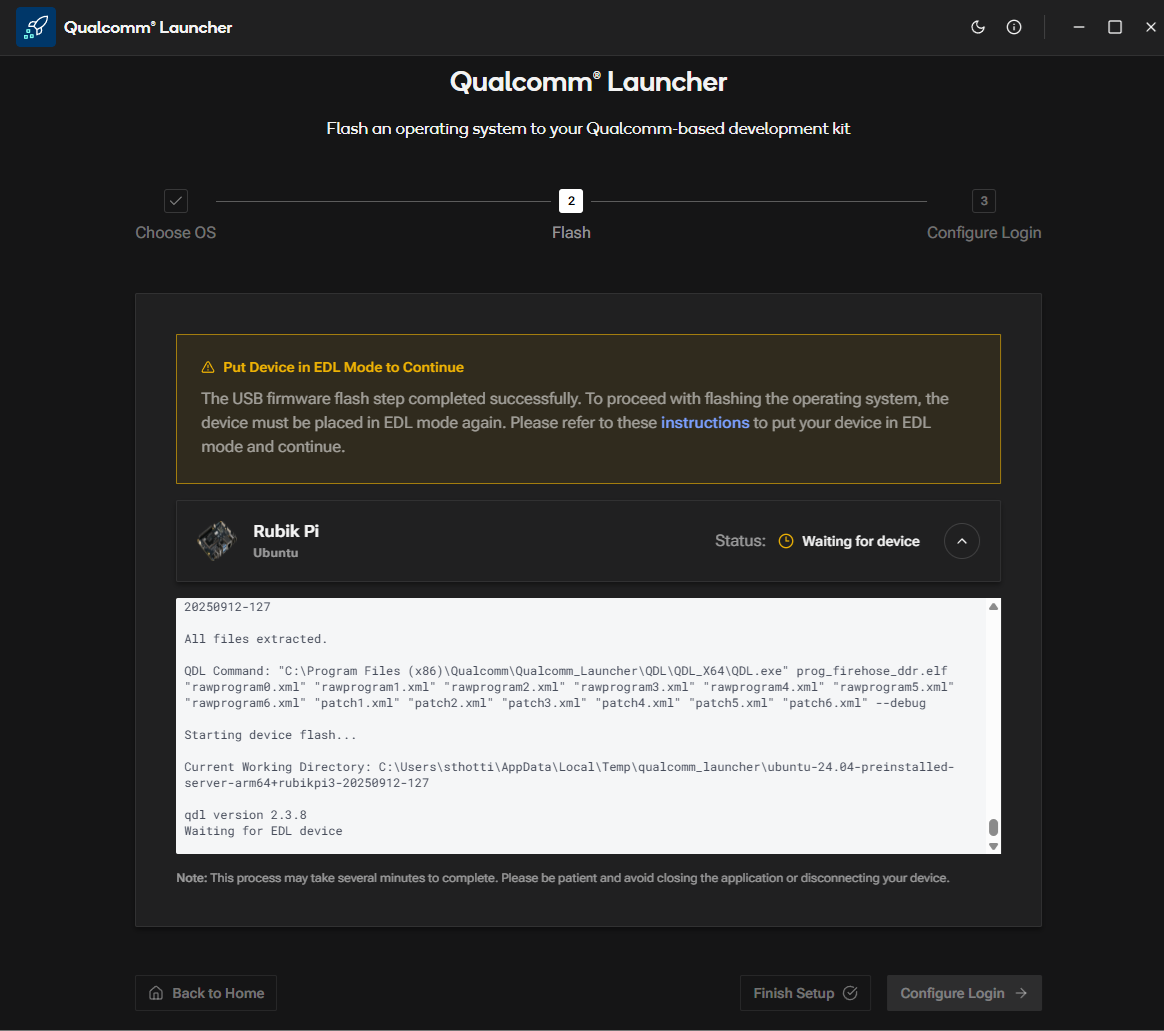
e. After successful USB firmware flashing, the following confirmation screen will appear.
In the log message section, you’ll see the platform image being downloaded and the flash build process running in the background.
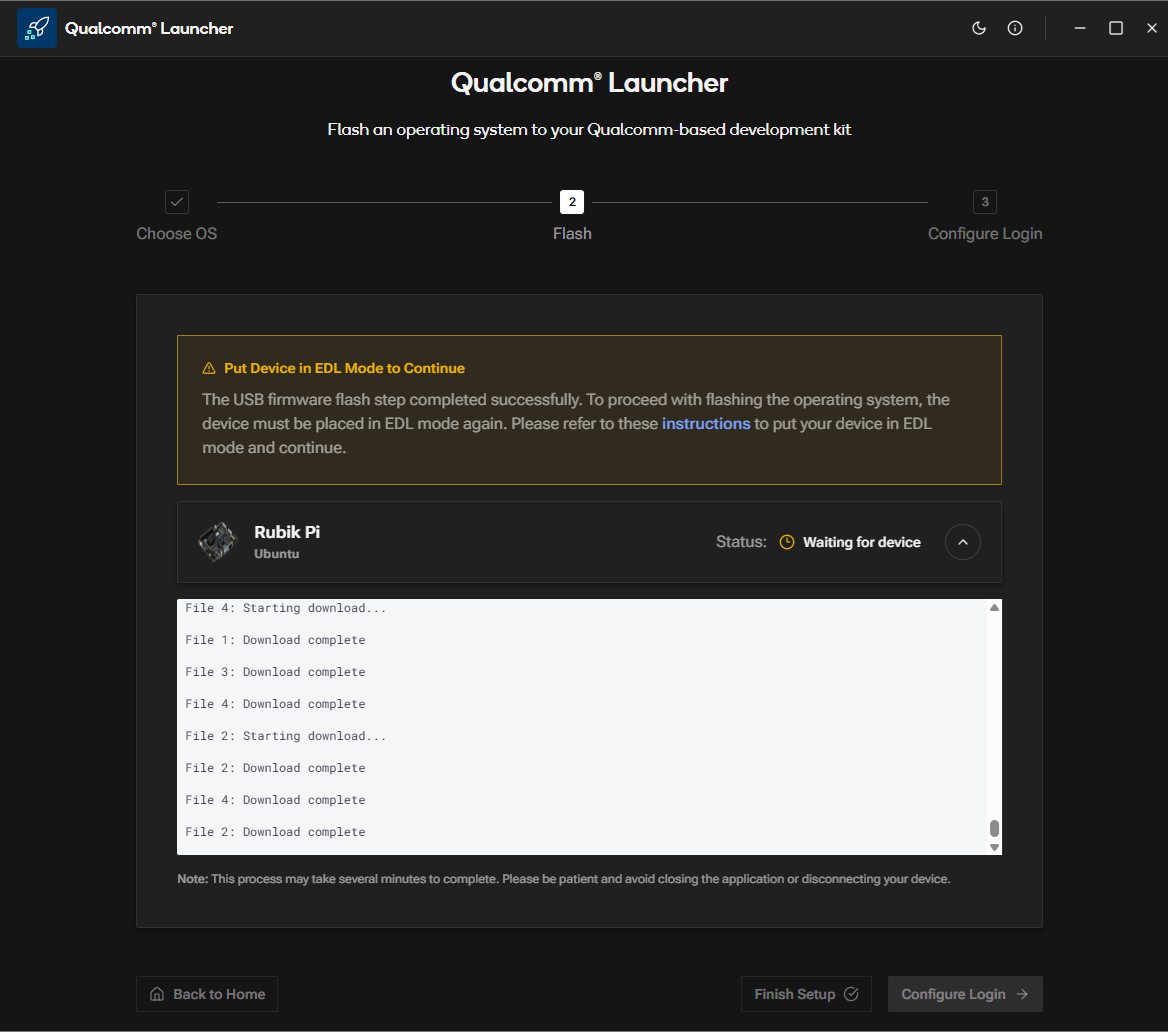 f. Once the Launcher is waiting for user action to put the device into EDL mode, you will see the following screen.
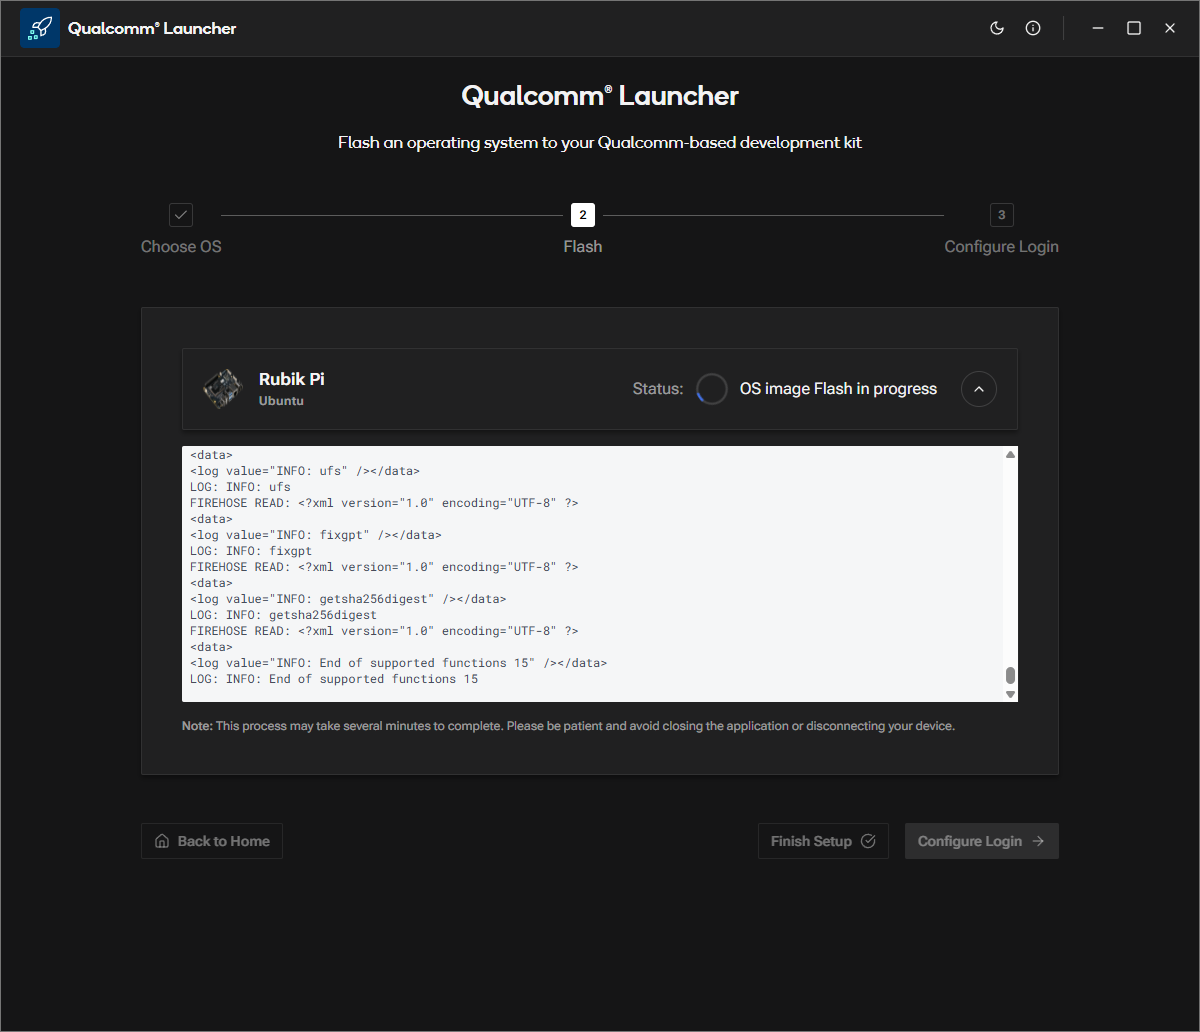
g. As soon as the device is placed into EDL mode, the flashing operation begins automatically. You will then see the following screen.
h. After the OS image is successfully flashed, the following confirmation screen will appear.