Requirements
Required Active Fan Cooler
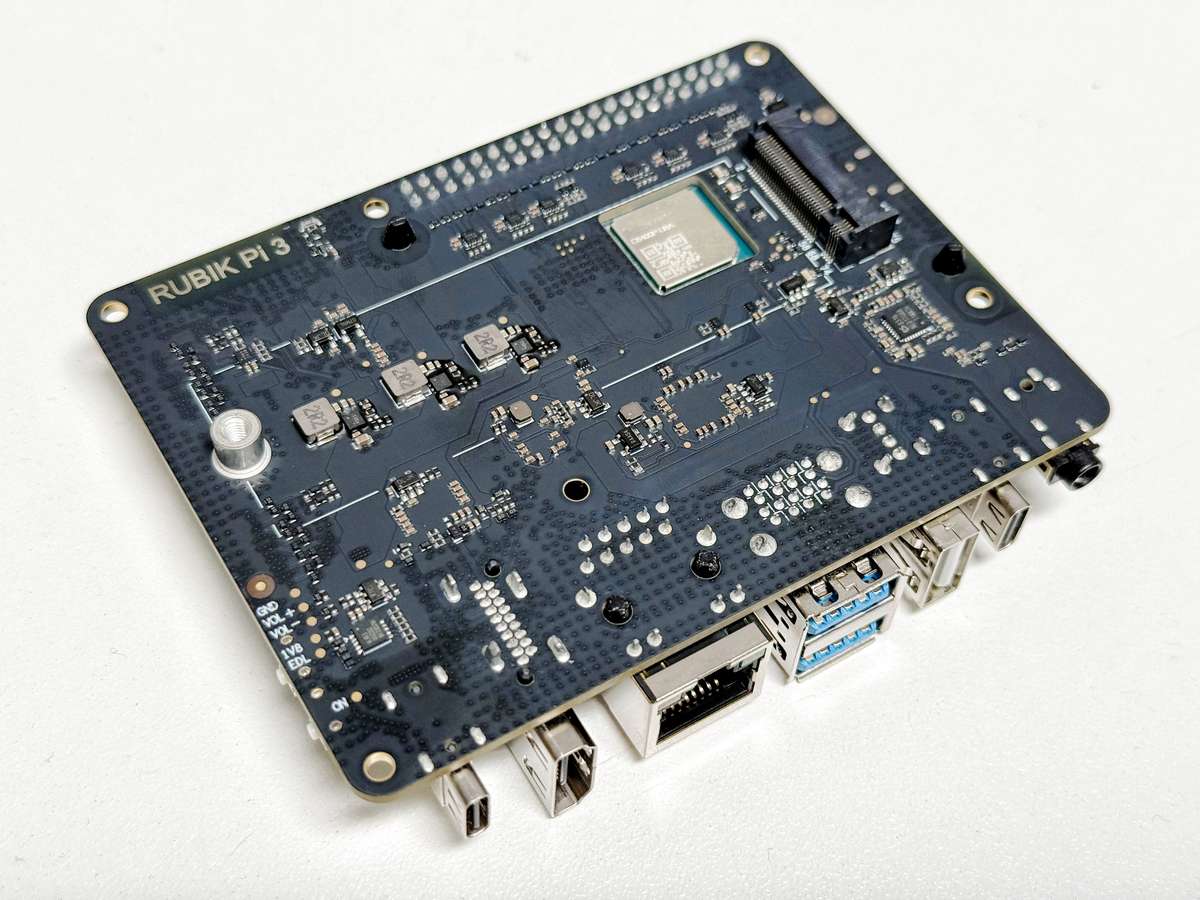
The Rubik Pi takes the same active fan cooler as the Raspberry Pi.
Without this you risk a chance of frying the Rubik Pi Amazon Link
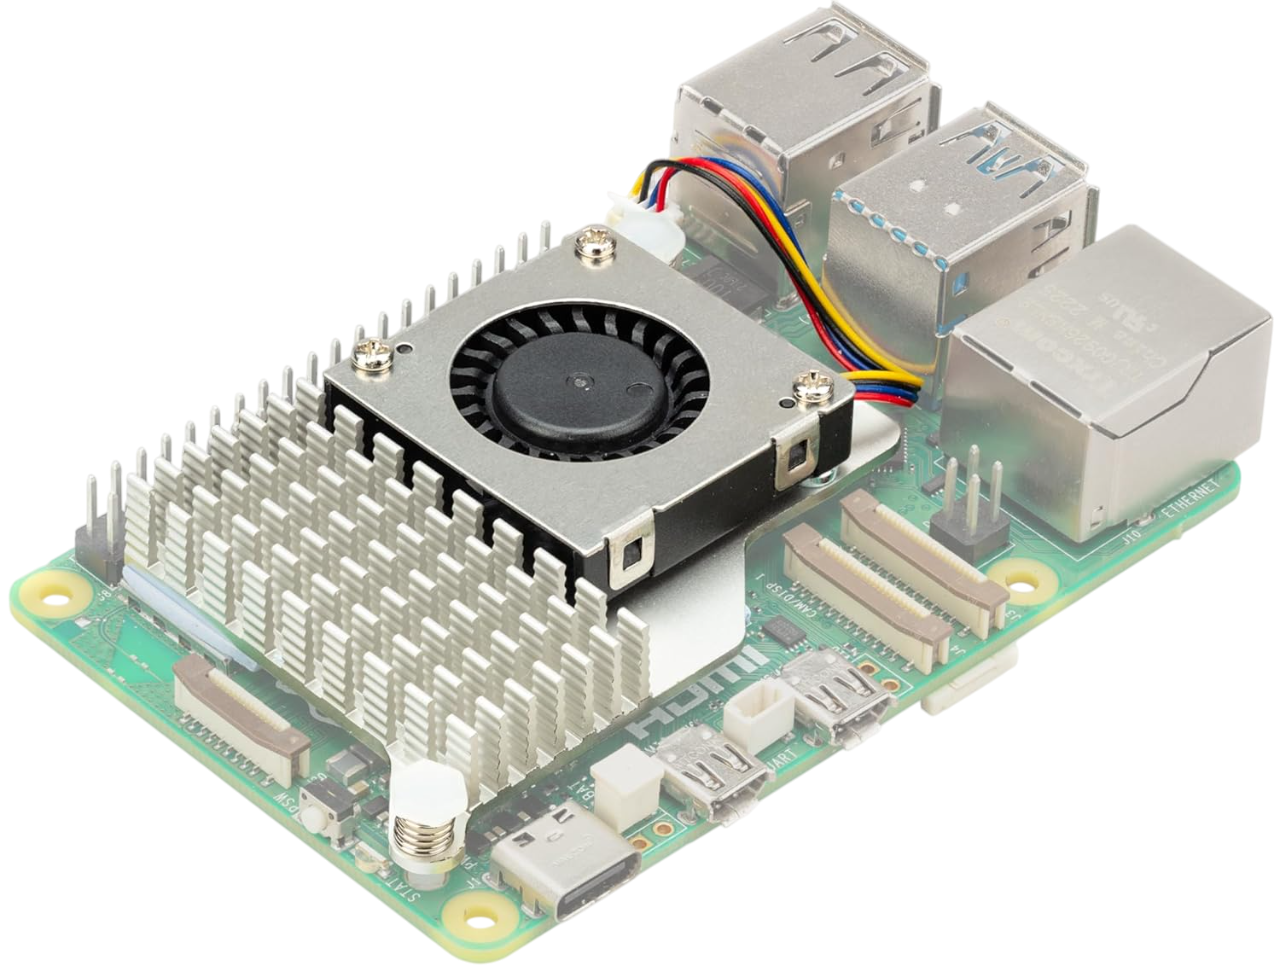
When using RUBIK Pi 3 in high-load or high-performance scenarios, use cooling measures to ensure stable performance of the device. Otherwise, performance may fluctuate due to high CPU temperatures. :::
Install the fan
-
Paste the two thermal pads to the corresponding positions on RUBIK Pi 3.
-
Connect the fan cable.
Make sure you orient the fan closest to the fan port correctly. The orientation is shown in the image below.
-
Install the fan onto the RUBIK Pi 3 and secure it in place.
We recommend that you do not remove the fan after installing it on your RUBIK Pi 3. Removal will cause the fan's push pins and thermal pads to degrade and may result in product damage. If the push pins are damaged, deformed, or not clipping securely, stop using the fan.
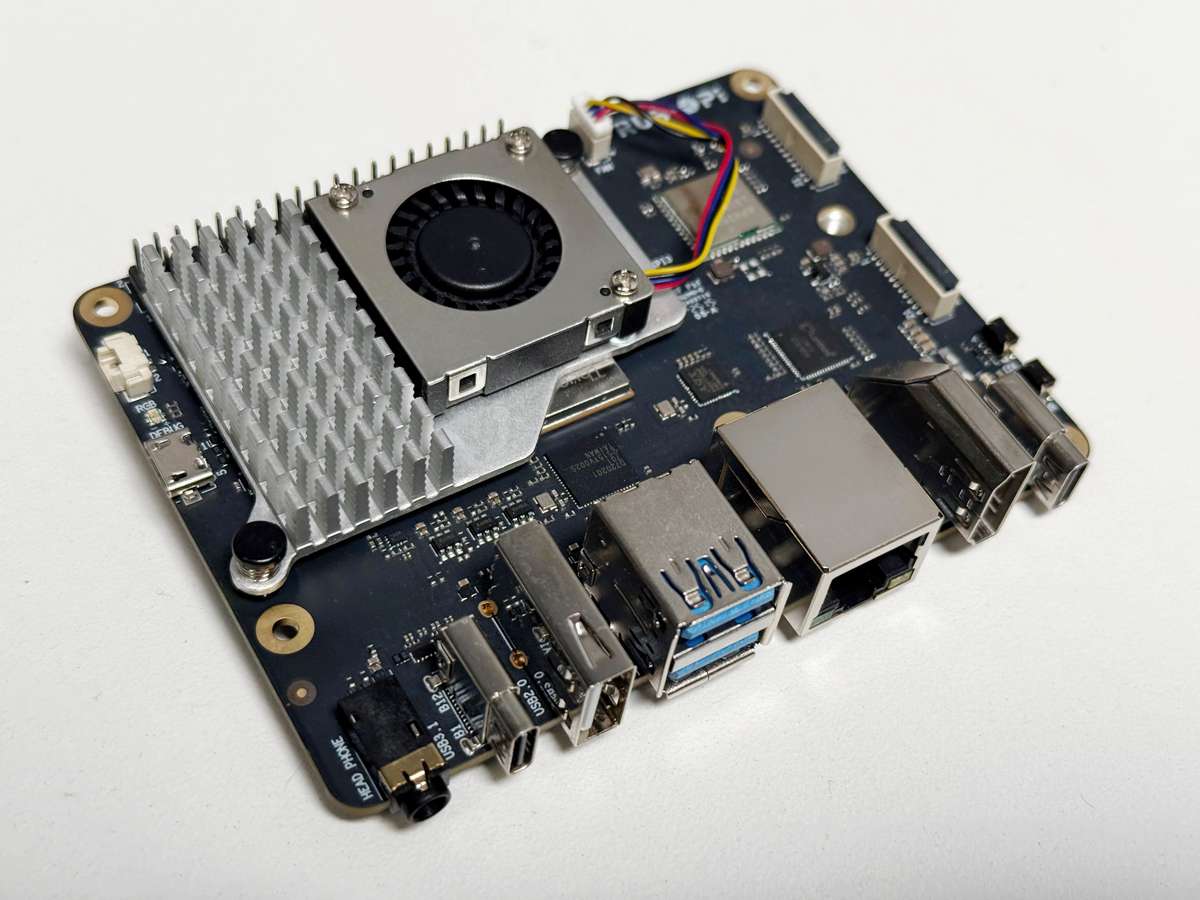
Notes about connecting the camera to the USB 3.0 ports
The stacked USB 3.0 ports share a single PCIe Gen 2 x1 link through the Renesas UPD720201, so they cannot both sustain full USB 3.0 bandwidth at the same time. Those two stacked USB 3.0 ports sit on the same USB bus. Two high resolution cameras plugged into both ports will contend for the same bus, and one camera can fail to enumerate or drop out under load.
Camera matching on the vertical USB port
In the past, there was an issue where devices connected to the vertical USB port could switch the paths they enumerate with on boot. This issue has been resolved in images distributed by PhotonVision. If you are not using a PhotonVision distributed image, you can view the fix here.